WooCommerce comes standard with a few different ways of listing your products. The most common listing is the “Shop” page, usually set up to be located at yourdomain.com/shop. This default list of all your products gives your customers a view of everything that you’re offering.
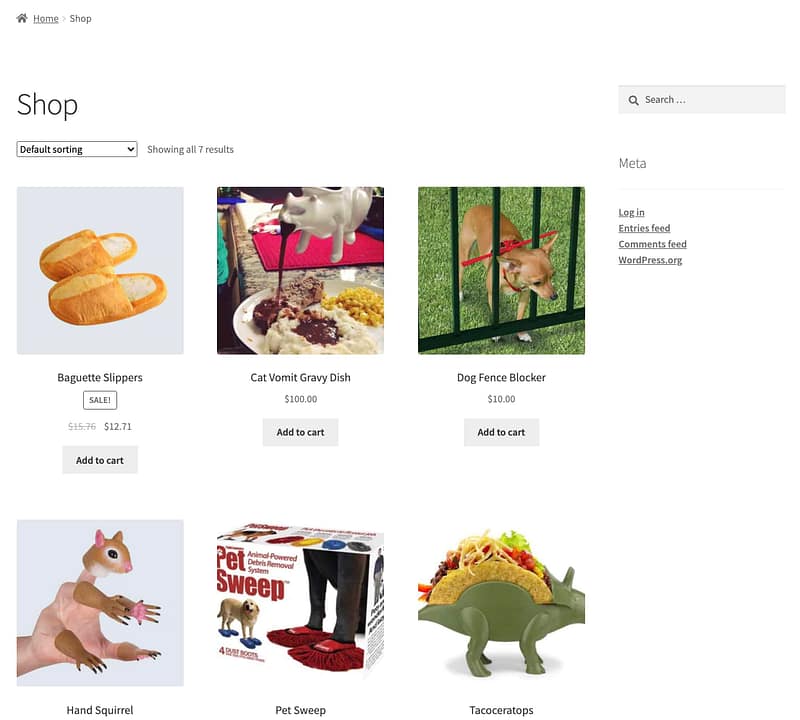
However, what if you want to add a CTA (call to action) or share information about a sale within the list? How about a newsletter signup? Or maybe you just want to add a decorative element between rows? No problem! That’ll just be a few lines of code.
Here’s what we’ll be making:
Before we get started…
It’s important to note here that you’ll need to know how to add code to your website. You can do this in a few different ways: create your own plugin, modify your child theme’s functions.php file, or use a code plugin like the free Code Snippets plugin. I prefer the latter, but you should go with what works best for you!
In addition, I’ll be assuming that you already have a WooCommerce store set up and some products added. If not, check out last Wednesday’s WooWednesday to get started with WooCommerce.
Note also: a basic understanding of PHP will help here, but is not required.
Okay, let’s keep going.
The Code Snippet
Below, I’ll walk through each piece. Here’s the whole block of code you’ll need for this:
The code above starts with a function being created called sv_wc_inject_item_in_shop_loop. You can call this whatever you want, but make sure that it is the same as what is being called in the add_action line at the end of the snippet.
Within the function, the global $wp_query is being grabbed so that a product count can be determined. This will be necessary when doing the math to decide where to inject the CTA. In my animated example above, you can see that I’m adding it every 3 items since my shop is set up in a 3-column configuration, but you may want a 4-column setup, for example, and then you’d want to inject the CTA every 4th item. Line 14 is where you’ll want to confirm the correct insertion count.
Then, the other place you’ll want to update is the content that is outputting to the page. I’d recommend leaving the <li class="product"> and </li> lines, as the WooCommerce product listing is an unordered list and this adds a list item.
Ideally, you’ll update the contents of line 17, which contains the information that should be displayed on the page. Like I suggested earlier, this would be a good place to share about requirements to earn free shipping, an ongoing (or upcoming) sale, or to add a newsletter signup form—though I might skip a few rows in between for something like that.
Hot tip: if you want to add a form, other Woo content, or any other site content, you can use a
do_shortcode()WordPress function in the snippet to output shortcode content!
Spice It Up!
Unfortunately, there’s not a lot of styling that comes with your new item, so you’ll have to add some CSS to make it look the way you want it to.

In my case, I added an injected-product class to the wrapping div and added these styles:
.injected-product {
    background: #ff003f;
    color: #fff;
    width: 100% !important;
    display: block;
    padding: 2rem;
    clear: both;
    font-size: 1.3rem !important;
}
Once this was done, the strip was styled to match my theme:

And there you have it! A beautifully-branded area where you can share more information about your products, store, or add any other content you want!


